Hi, No Wakelock is a new Android app I developed. It gives user the ability to disable wakelocks of specified apps, which are usually the root cause of battery drain. It requires Xposed to function normally.
How it works?
Android allows apps to use partial WAKE_LOCK to keep devices awake while screen is off. However, this mechanism is often abused as some Android developers introduced it into network related operations. As a matter of fact, network events will wake devices up automatically and only pure CPU operations require wakelocks to prevent device from falling asleep.
Disabling partial WAKE_LOCK is usually safe and has little impact on the functionality of Android apps, except if you are doing CPU intensive work like video rendering, π calculation etc.
How to use it?
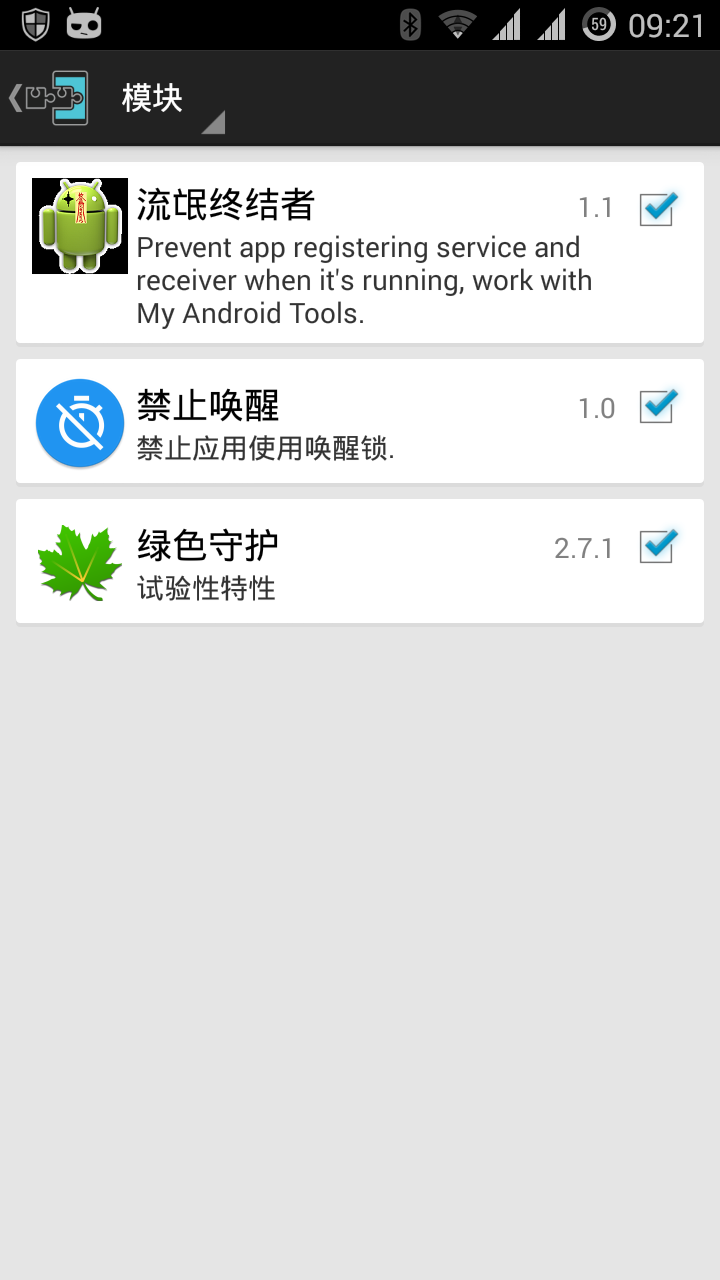
First of all, enable the Xposed module.
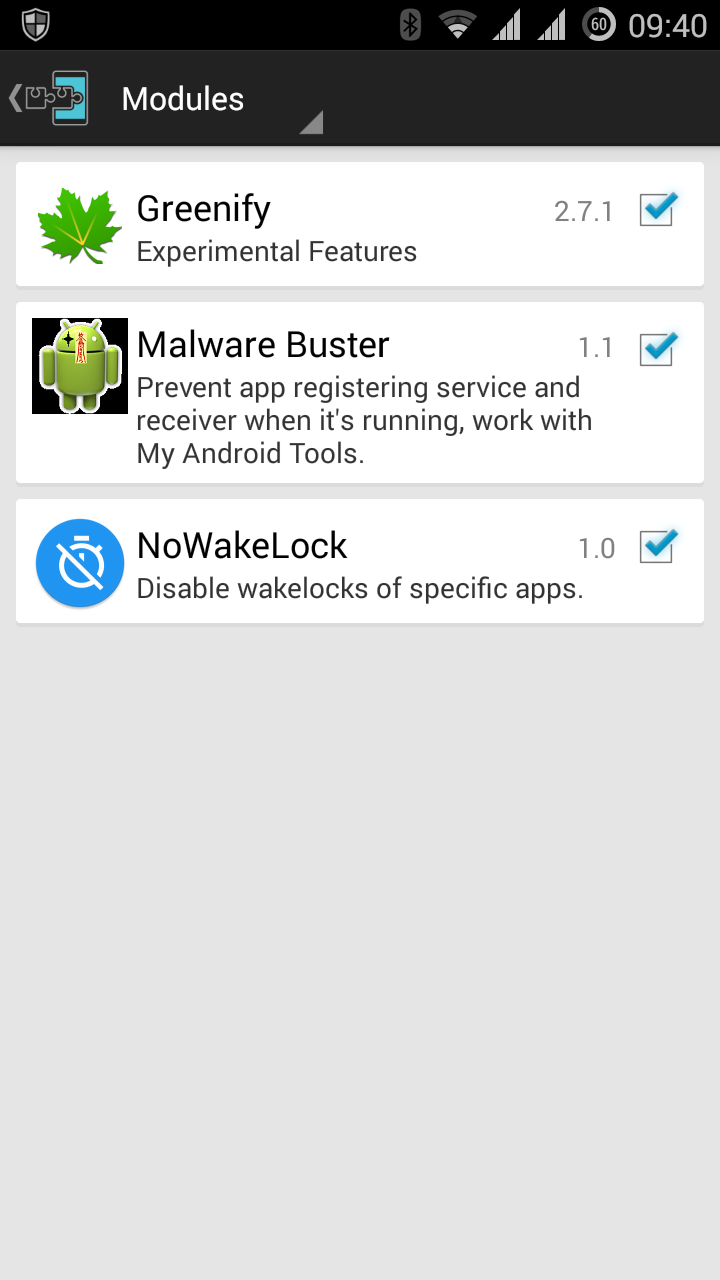
It is recommended to use No Wakelock with other apps like Greenify. If you do not wish to have an app running in the background while screen is off, simply greenify it. If you have an app that you wish to have it running in the background, but at the same time want to minimize its battery usage, then do not greenify it. Instead, use No Wakelock to restrict its access to wakelocks.
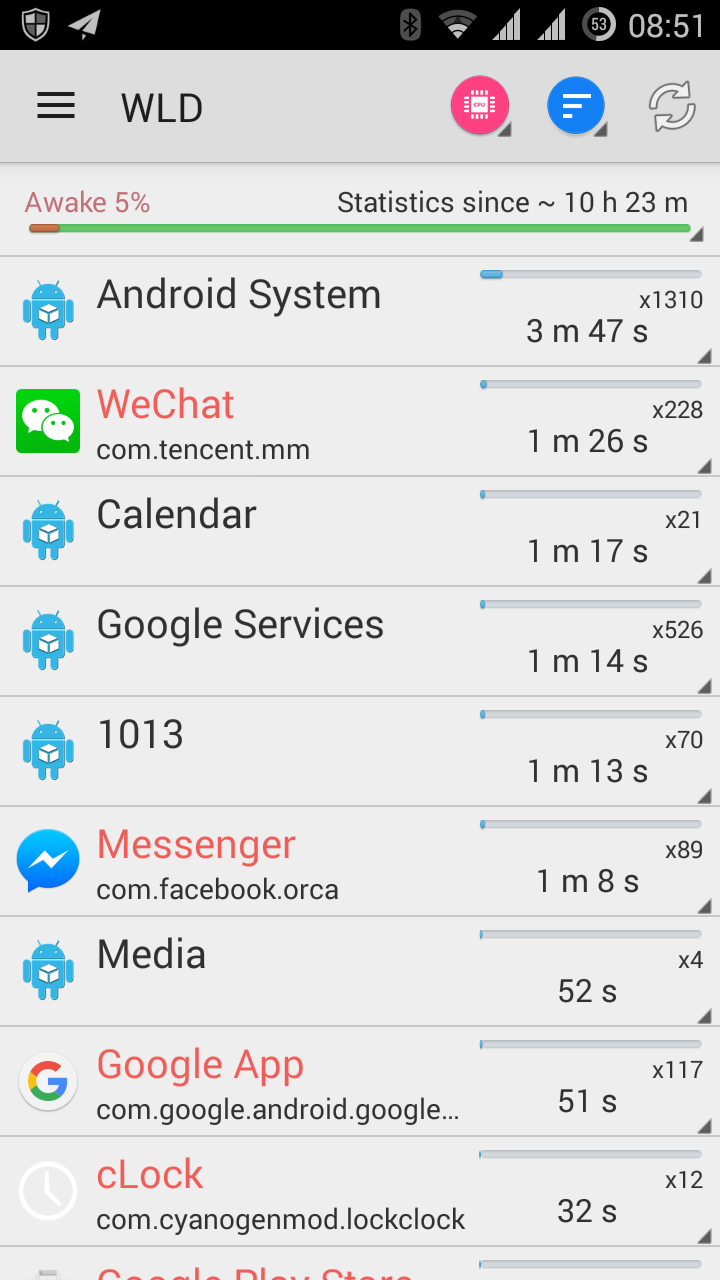
It is recommended to identify the apps that use excess wakelocks first. Tools that can help you with that include Wakelock Detector.
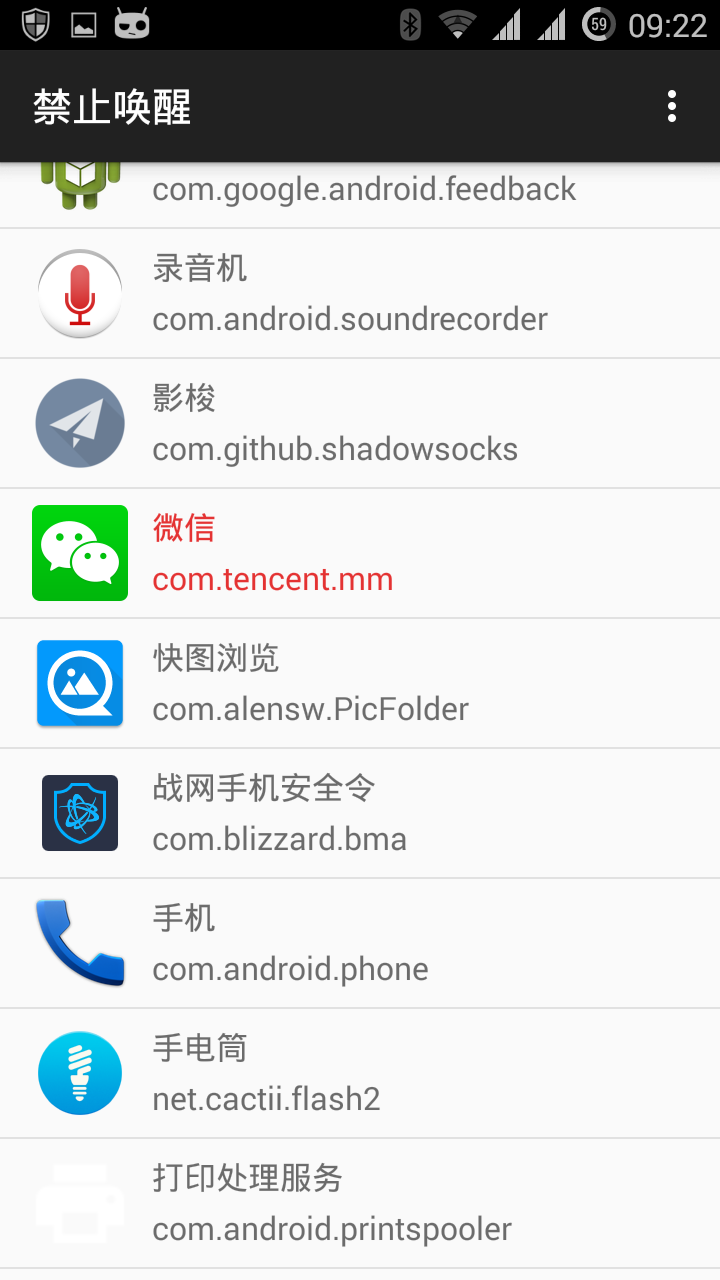
Then open No Wakelock, locate the app you want to disable.
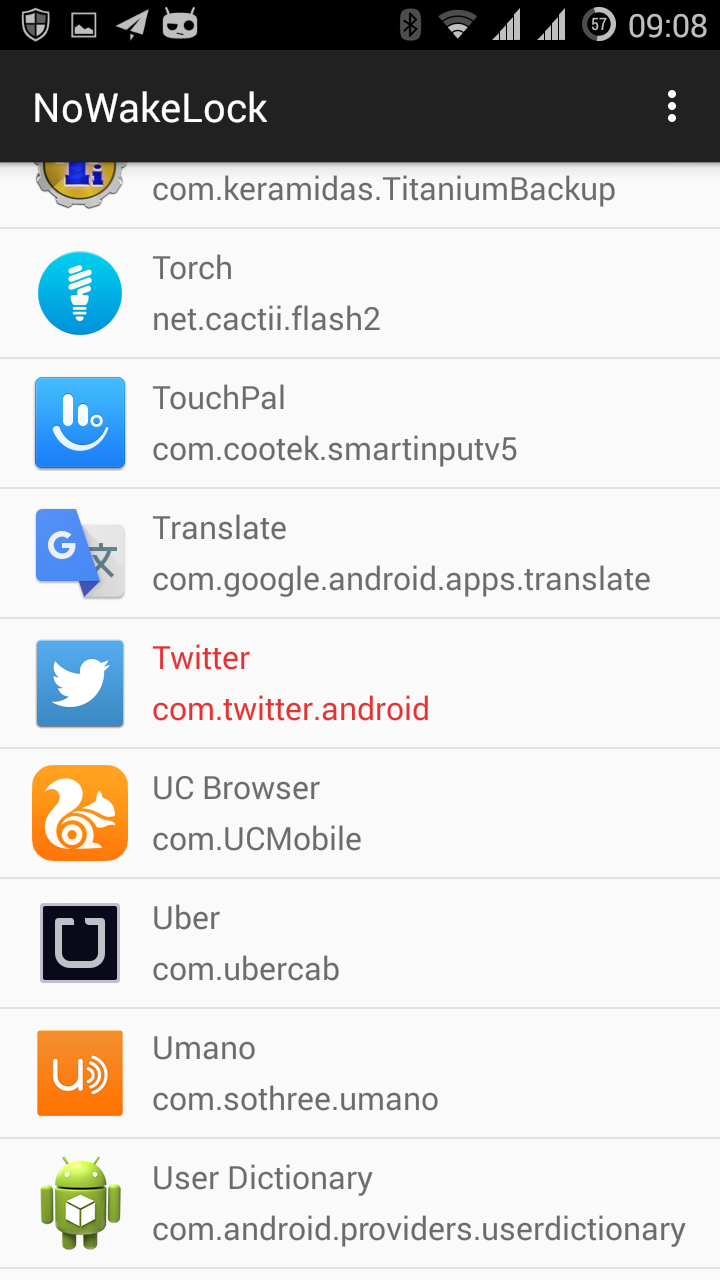
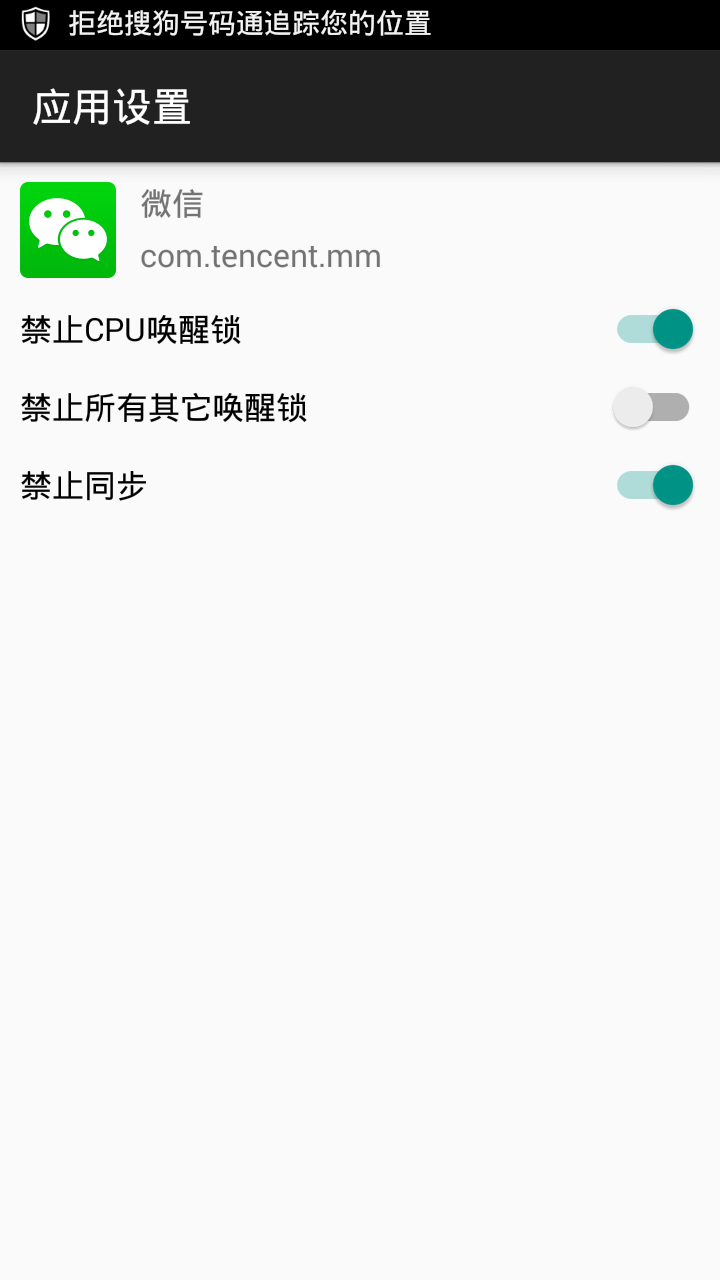
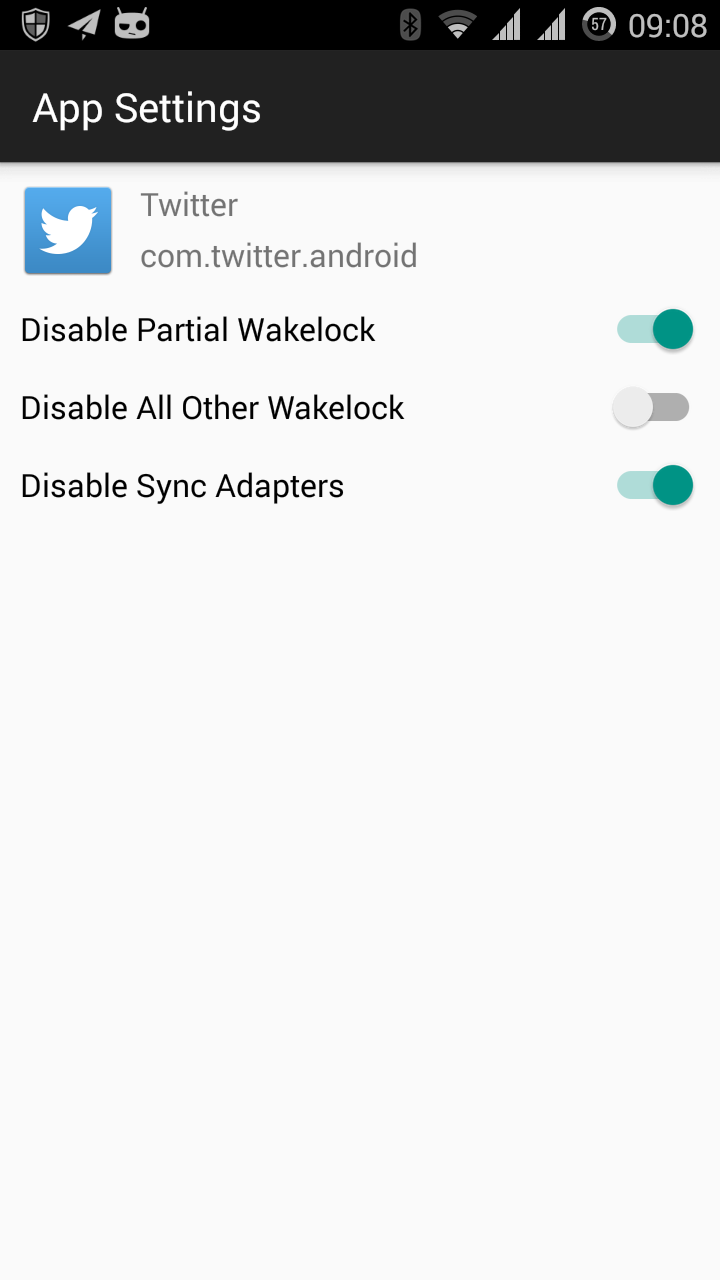
Then, choose the types of wakelocks you want to disable.
What to disable?
Partial Wakelock: This is the wakelock that prevents your CPU from falling into sleep while screen is off.
All Other Wakelocks: This is the wakelock that prevents your screen from turning off.
Sync Adapters: Sync Adapters can also keep devices awake. If you do not need synchronisation, you can disable it.
Align AlarmManager Wake-ups: (>= Android 4.4 only) Use this option to force align all wakeups caused by AlarmManager so that the CPU can keep asleep for as long as possible. Please be reminded that this option might postpone or break push notifications of apps that are improperly designed.
These four options should be enough for 99% of the users. However, if you wish to have more precise control over your phone’s wakelocks, you can enable this option:
Apply Custom Black/Whitelist: This is an advance option. Common users usually do not need to touch this unless you are clear what you are doing. If you wish to enable it, please edit the custom black/whitelist first. For more information about black/whitelist, read the next session.
- Setup Example: Google Play Services
If you are using Google Play Services, it may be consuming too much battery. So you checked the battery usage of Google Play Services, and it turned out that Google Play Services is keeping your device awake even when you are not using it. To save your battery, open “No Wakelock”, navigate to Google Play Services (Enable system apps first in No Wakelock settings), disable partial wakelock and leave everything unchanged. Restart your device to make this effective.
Google Play Services will now no longer consume too much battery. The best part is that GCM notifications & Google Account Sync are all working as normal. Woohoo!
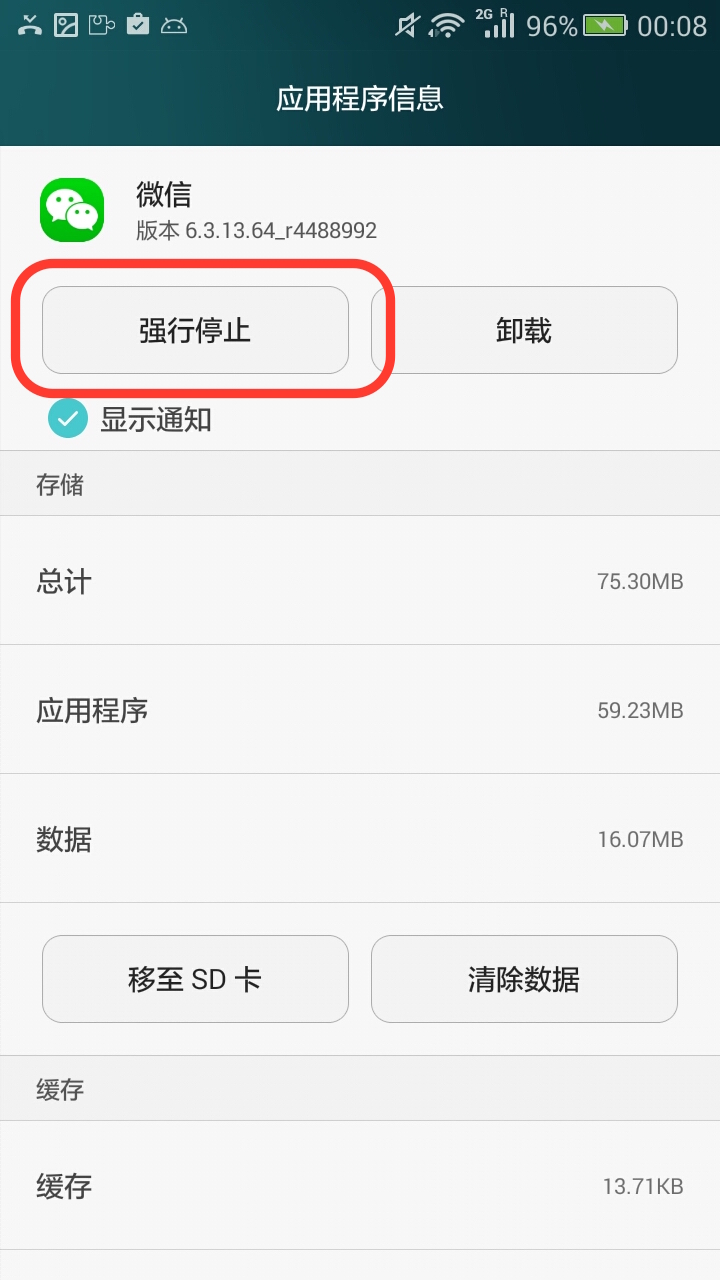
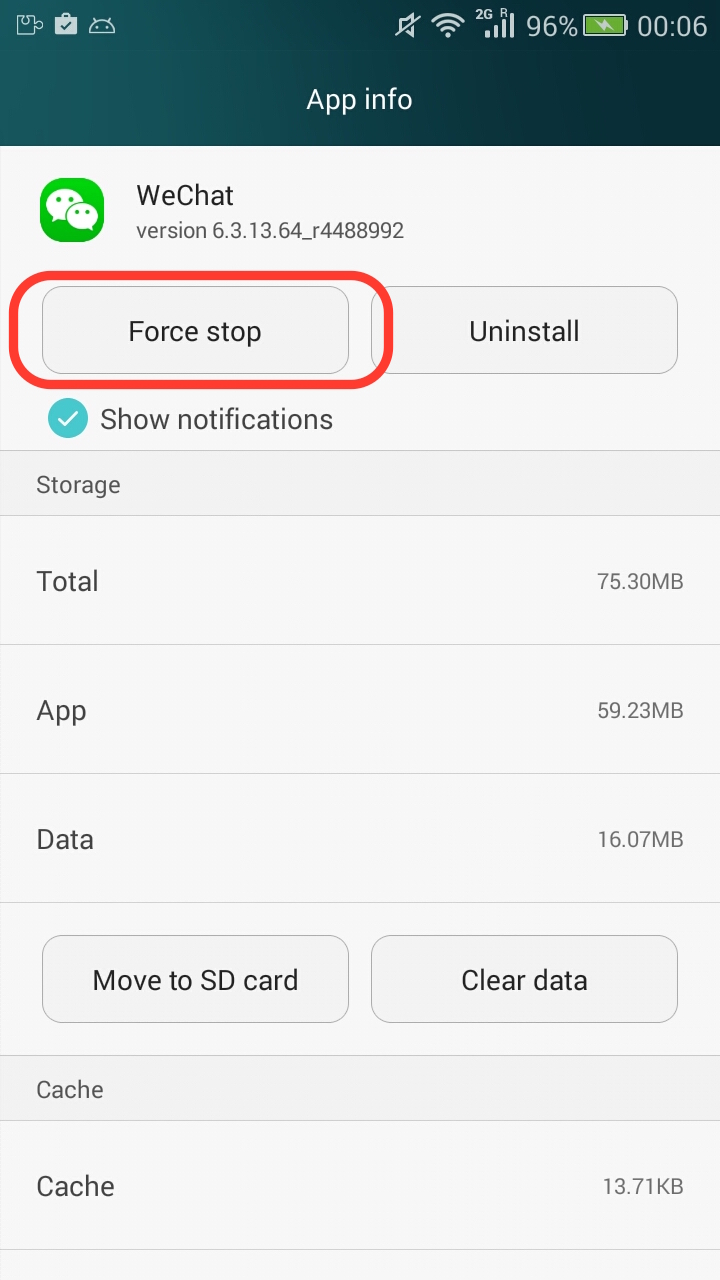
Force stop the app(if you only change the settings of one app) or reboot your devices(if you changed the settings of a lot of apps) to make all settings effective.
That’s all. Your device can have a good night’s sleep now.
Advanced Option: Black/WhiteList
Please be reminded that this is only for advanced users.
If you decide to enable it, the priority of wakelock matching becomes: blacklist > whitelist > other settings for the app.
To edit your black/whitelist, click the “Edit” button on the top right and fill in the black/whitelist in corresponding columns.
Black/Whitelist works in the way that matches wakelocks’ names. You can write regular expressions on each line. For instance, if you saw a wakelock named WakeLock:12345 & a wakelock named WakeLock:abcde are keeping your device awake, you can fill in these content in your blacklist:
WakeLock:\d+

WakeLock:[a-zA-Z]+
Please be reminded that one and only one regular expression should appear on each line. Do not insert extra new lines as this will invalidate all settings for this app.
Get it now!
Download No Wakelock at Google Play: https://play.google.com/store/apps/details?id=com.linangran.nowakelock
Purchase Donation Pack at Google Play: https://play.google.com/store/apps/details?id=com.linangran.nowakelock.donation